You want to get organized, but you don’t know where to start. You feel overwhelmed and don’t have a clear plan for where and how to begin. The following 5 steps will help you get “unstuck”, focused and on your way to creating an organized home you’ll love.
Step 1: Get A Clear Picture Of Your End Result.
Be as specific as possible and define your vision for your space. Ask yourself the following questions:
What's bugging you about the space?
Are there things in the room that don't belong?
When you're done, how will the space look?
When you're done, how will the space feel?
When you're done, how will the space function?
Step 2: Write A To-Do List
Based on the answers to your questions, create a specific list of tasks to execute within the space to achieve your desired end result. Be precise about what needs to be done. Your list will may include things like: identifying which items you'd like moved out of the space, rearranging the furniture, sorting and grouping all like items, decluttering, etc. The key is being as detailed as possible. If you have items that need to be returned, donated or mailed, write that out as an item on the list. It will be easier checking items off a list as you do them rather than relying on your recollection as you go.
Step 3: Start Organizing!
With your To-Do list in hand, you now have a list of action items that will get your space organized. If general decluttering is on your list, this is a great place to start. Begin by finding all the things you know you no longer use, need, or love. Decide if you are tossing or donating as you pull out each of these items and throw into a donation or trash bag (or box).
Your goal here is to make quick and easy decisions to eliminate as many unneeded things as quickly as possible. Be sure to get these items completely out of your home. (Putting them in a box in a basement, garage, or other storage area in anticipation of a garage sale doesn't count!) By getting these items out of your home, they're completely off your radar screen. This will energize you to move on to the next phase of your project.
Step 4: Group Like Items
Once you've decluttered each room, set up two-three boxes and label one as "Donate", one as "Toss", one as "Sell" (optional). There will be additional items to get rid of that were overlooked in the last step. For all of the items you are going to "Keep", you will want to start categories based on the items you have within the space. If you are clearing out a closet, you will have a "Shoe" category, "Tshirt" category, etc. In other words, your items will dictate the categories. You are now going to sort every single item in the space into a category. Do this as quickly as you can. When you come across items that require you to spend more time reviewing, such as a pile of receipts or photos, set them aside in a separate pile and address once everything else has been sorted.
Step 5: Bringing It All Together
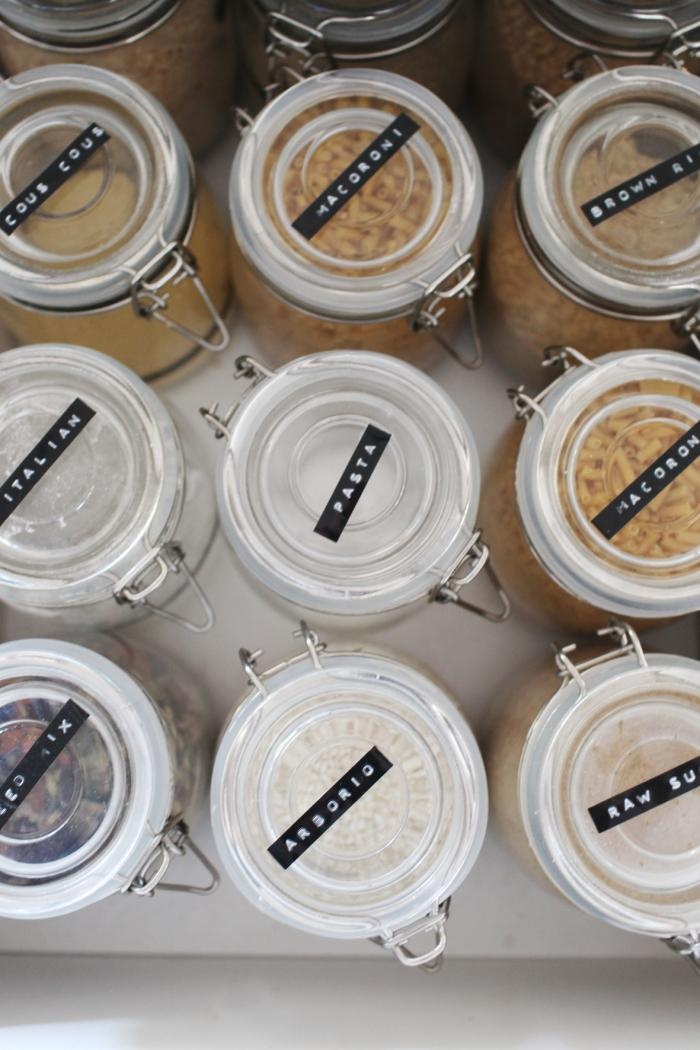
By this step, you should have distinct piles of items that fall under the same category, you want to keep and that belong in the space you are organizing.. Based on the amount of items in a category, you can now decide which category will fit where within the space. This is also when containers come into the picture. You can decipher how many containers are needed and accurately measure where within the space they will go. By waiting until later in the process—after decluttering and defining which items will go where—you can feel more confident in selecting containers that will work in your space and will be worth your investment. Add labels to your containers so it's easy to maintain your new organizing system.
Feel free to contact O.P.E.N. for assistance if you need help at any point throughout your organizational journey.